Posted on 3 Comments

Verpackung und Gehäusedesign mit OpenSource-Tools

Mit fortschreitender Verbesserung diverser Softwarewerkzeuge aus der nicht immer bedingungslos geliebten OpenSource-Szene erliegt man alle Jahre der Versuchung, mal wieder etwas herumzuspielen. Dabei lässt man sich auch immer wieder überraschen, wie gut die Tools inzwischen geworden sind.

Problemstellung: Zeige dem Kunden ein mögliches Gehäuse zum Anfassen. In dem Zug kommt oft die erste Frage: Können Sie das mit einem 3D-Drucker machen? Ich kann es nicht, aber andere können das. Leider nur nicht in Stückzahlen, und die Ausgabe dauert doch eine geraume Weile.

Inzwischen haben wir unsere notch flap-Falttechnik so weit optimiert, dass aus einem Papierbogen in wenigen Sekunden ein fertiges Gehäuse wird.

Damit es auch passt, müssen die Abmessungen die Platinen wie auch der Bauteile passen. Damit kommen wir zu den Werkzeugen.

Tools

Das Allzweckwerkzeug namens Blender, was nach einem wenig erfolgreichen Kommerzialisierungsversuch als OpenSource veröffentlicht wurde, ist prima dazu geeignet, die diversen chirurgischen Konversions-Operationen vorzunehmen und daraus auch die Gehäuseprototypen auszugeben.

Aber nun von vorne, die involvierten Tools der Reihe nach:

  1. Ursprungsdaten (PCB-Design, Positionen der Bauteile): KiCAD
  2. Konversion der CAD-Daten: freecad
  3. Aufbereitung und Gehäuse-Design: Blender

Den Rest erledigt unsere hauseigene ‘notch flap’ Extension für Blender. Die Ausgabe geschieht auf einem Schneideplotter, und für das Falten sind einige Handgriffe nötig. Fertig!


Gehäuseprototyp für Eval-Kit
Posted on 2 Comments

CCS811 sensor review

CCS 811 sensor drifting

I’ve logged the CCS811 eCO2 values over 24 h, using the 10s acquisition PULSE mode of the MEAS_MODE.DRIVE_MODE register bit field. It looks like the internal algorithm is not so well able to cope with humidity changes, as soon as humidity drops (when opening a window), the eCO2 values start drifting. The hardware/firmware specs:

HW_VERSION 0x12
FW_APP_VERSION 0x1100

The air quality in the room is somewhat constant and should normally range between 400 and 800 ECO2 pseudo-ppm.

In the examples below, no environmental on-sensor compensation (using the ENV_DATA register) is used.

In all cases where too much drifting was registered, the sensor DRIVE_MODE was reset to Pulse (2). You can then also see that the RAW value is then at a different offset.

The sudden humidity changes seem to be problematic, obviously. Since the raw values don’t change much during the continuous measurement interval (without restarting/rewriting DRIVE_MODE) , this would suggest that the firmware is somewhat mislead and keeps adapting its values.

The app note AN369 mentions the handling of the BASELINE register in paragraph 17. This is to be experimented with next.

T/H Environment compensation

The Write-Only (!) ENV_DATA register should, according to the HW reference, allow compensation of the humitidy. However, first attempts made the measurements go completely haywire and oscillating. This is currently under scrutiny.

It looks like that only a more or less constant humidity makes the sensor operate in a sane range. Otherwise, the high eCO2 values can not be trusted whenever the humidity rises rapidly. I guess this is a somewhat unwanted property of any SnO2 gas sensor and it can be quite difficult to adjust without knowing the parameters. However in this case it seems that the firmware is doing some internal adjustment that is still somewhat not understood.

Baseline adjustment

The BASELINE register is somewhat obscure and undocumented: Some MSBs seem to be flags, the LSB some offset value. The AN tells you to just write back a ‘known’ baseline from clean air. However, I’d assume that for a proper measurement you’d have to record a set of baselines corresponding to environment T/H values to figure out which to write. Not there yet…

Conclusion / possible way out

Whenever the humidity is changing rapidly, the current strategy is:

  • Wait until humidity has settled and try resetting the BASELINE to a ‘known good’ state
  • Rewrite DRIVE_MODE to the previous value and wait a certain settling time

Resetting the baseline according to the AN sometimes works, sometimes produces completely unusable results. It is still a bit of a mystery why the ENV_DATA compensation does not work as ‘promised’.

I’ll probably post more findings here.

Posted on Leave a comment

Multiple node monitoring/control via Python/netpp

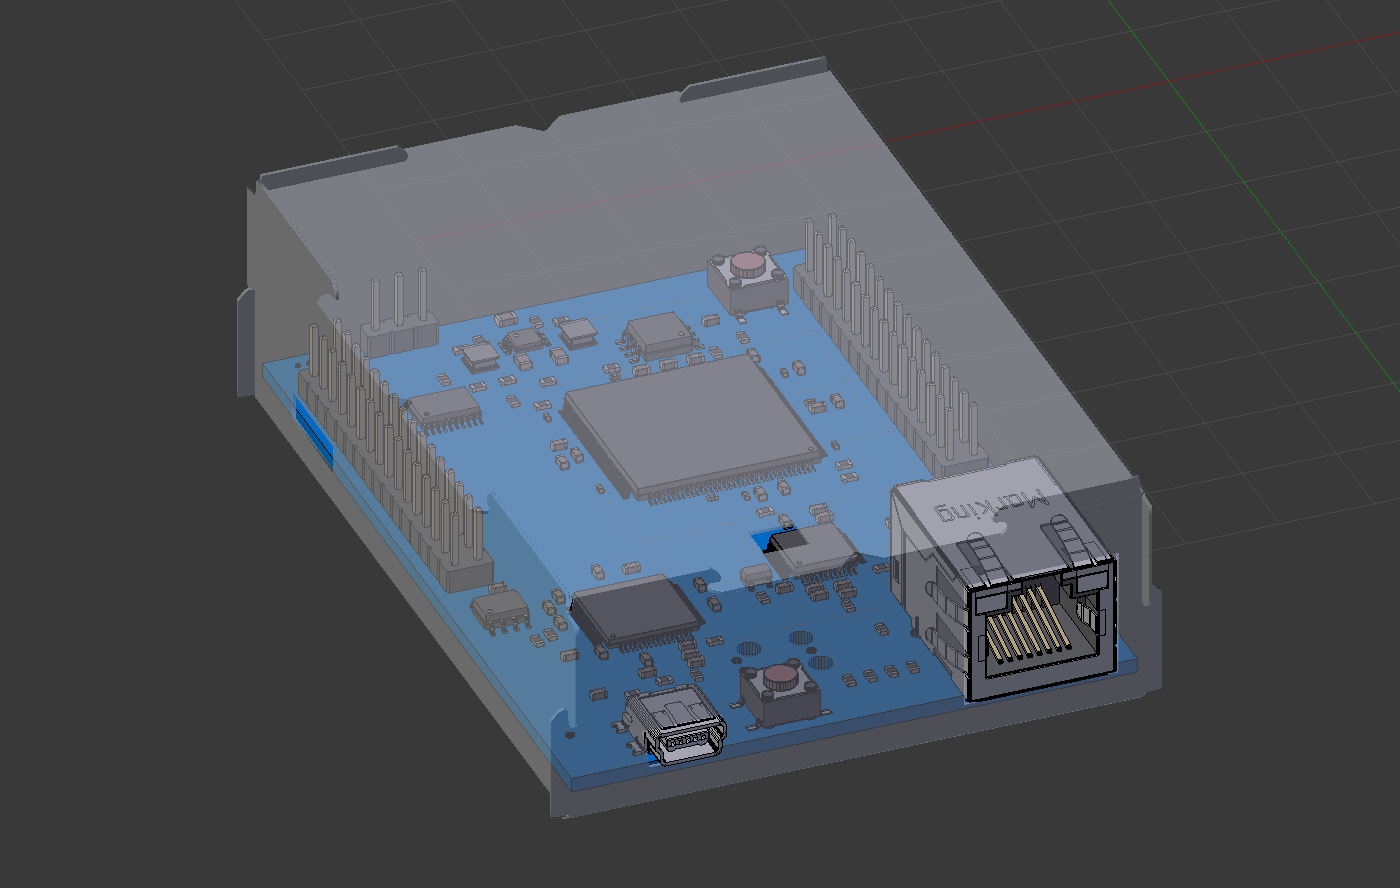
Since scalability of the netpp node solution was advertised, one issue has turned into a FAQ: How to handle errors on loaded networks and traffic between multiple nodes?

Especially with UDP, plenty of scenarios can occur which can confuse all higher protocol layers: lost packets, reverse packet order, duplicate packets…

How to handle these errors, does the netpp layer take care of it all?

It doesn’t. The current strategy with UDP is: We want to see all errors. If we don’t, we’d rather switch to a TCP implementation.

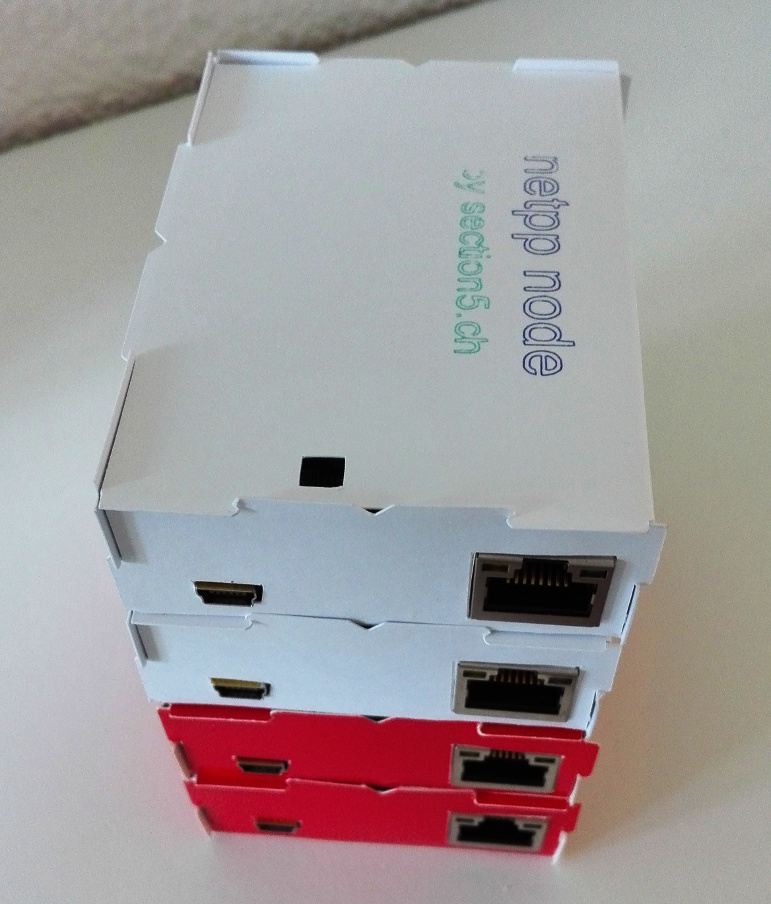
In our test scenario we have, connected by a Gigabit Hub:

  • One Gigabit Ethernet capable client, one 100M client
  • Six netpp nodes

If the network is not completely jammed, the usual you would see is timeouts. In Python, these are simple IOError exceptions. If an illegal packet sequence is detected, a SystemError exception will be raised.

As a simple example, the script below will poll all detected hosts at highest frequency possible and cover IOError and SystemError exceptions with different recovery timings.

Note that there is no particular finer control for specific errors in Python. If required, these have to be handled on the C-API level.

import netpp
import time
import sys


hostlist = range(8, 15)


def init(hostlist):
    targets = []
    for h in hostlist:
        try:
            ip = "192.168.0.%d" % h
            d = netpp.connect("UDP:%s:2016" % ip)
            print "Target %s alive" % ip
            targets.append((h, d.sync()))
        except:
            print "Target %s down" % ip
            pass
        
    return targets


def poll(targets):
    for h, t in targets:
        rev = t.SysCtrl.ReleaseTag.get()
        print "Node %d : Class '%s' rev %s" % (h, t.name(), rev)
        l = t.LED.Red.get()
        l = not l
        t.LED.Red.set(l)
        print 40 * "-"

    l = True
    while 1:
        for h, t in targets:
            try:
                t.LED.Green.set(l)
                dataready = t.UART.RXREADY.get()
                if dataready:
                    print "> %s" % t.UART.RxData.get()
            except SystemError:
                print "Node %d: %s" % (h, sys.exc_info()[1])
                time.sleep(1.0)
            except IOError:
                print "Node %d: %s" % (h, sys.exc_info()[1])
                time.sleep(0.1)
        l = not l
        # time.sleep(0.05)

targets = init(hostlist)
poll(targets)

Script details

The script will just toggle the Green LED for each target and check if there’s input available on the UART. If you have the corresponding netpp node connected via USB serial, you can type in a character at the terminal and see it reported from the script.

Timeouts and sessions

UDP is session-less, therefore netpp handles the connectivity from peer to peer. By default, only two simultaneous connections (two clients) are supported. If a connection is lost, the netpp node will terminate it after a certain timeout, if a new connection is detected. This is signalled on the netpp node UART console by:

disconnect_timeout: c0a80002:49587

If the connection is lost from the netpp node side, for example via a reboot or long cable disconnect, the client may not detect that and keep sending queries. In this case, you might see the following error on the netpp node console:

QRY 55 NAK

(the 55 could be any other code).

In this case, the session would have to be reopened from the client:

d = netpp.connect(...)

FPGA goes cloudy

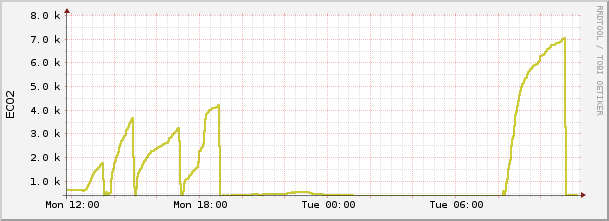
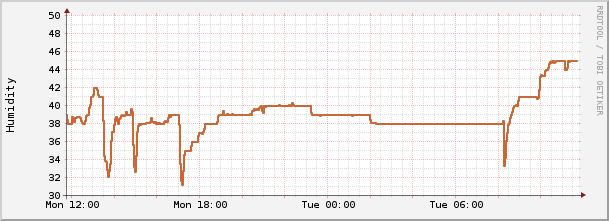
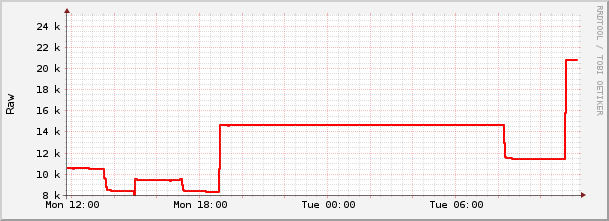
If you’re collecting data as simple as Temperature and Humidity, for instance, you might want to push the data to the cloud. This is also done using a simple Python script doing a HTTP get request to ThinkSpeak. Note the netpp node does not push the data, the script is running on an embedded Linux module.

[iframe_loader src=”https://thingspeak.com/channels/415371/charts/1?bgcolor=%23ffffff&color=%23d62020&dynamic=true&results=60&type=line&update=15″]
[iframe_loader src=”https://thingspeak.com/channels/415371/charts/2?bgcolor=%23ffffff&color=%23d62020&dynamic=true&results=60&type=line&update=15″]